In May of 2016, I wrote the post below, regarding field expedient gear repairs. Being able to repair equipment, footwear and clothing in the field is a necessary skill, that could mean the difference between mission accomplishment (Survival for a Civilian), or failure/death.
Para cord, some bank line, a Speedy-Stitcher, some needles and thread and some thin wire (mil type trip wire), are the things you can use to repair (sew up) different types of equipment, uniform and boot damages.
Also in your repair kit, you should include extra buckles and sliders for your gear webbing, some “Shoe Goo” and a roll of Gorilla Tape. These items will fix a number of other equipment, uniform and footwear issues, at least temporarily.
BTW, here’s a good post from my Friend over at Von Steuben Training and Consulting. He’s got some good ideas and perspective on the quality level of your gear, it’s repair and using training to supplement damage to first line equipment, like optics.
________________________________________________________________________
“For want of a nail the shoe was lost.
For want of a shoe the horse was lost.
For want of a horse the rider was lost.
For want of a rider the message was lost.
For want of a message the battle was lost.
For want of a battle the kingdom was lost.
And all for the want of a horseshoe nail.“
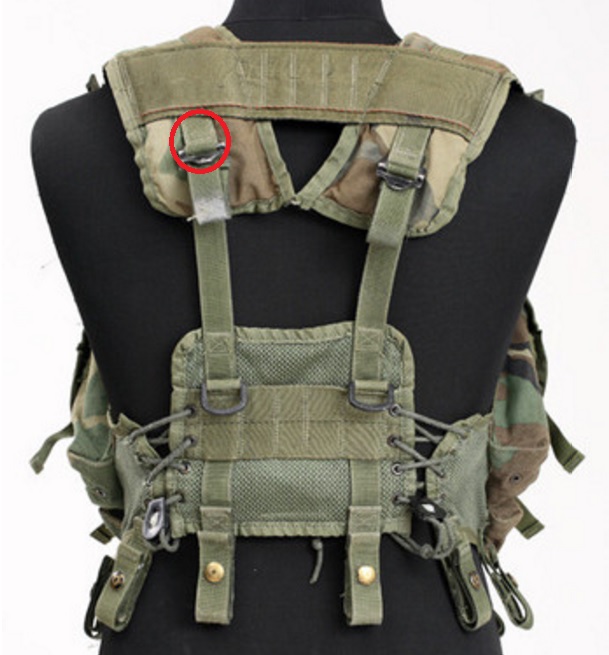
One of the biggest problems facing the individual in the field can be equipment failure (blowout). Whether it’s your LBE/LBV or ruck coming apart at critical stress points, or your boots deciding to blow out due to hard use, these issues can and will happen in the field. Considering the importance of your boots and your load bearing gear, having some items to perform hasty repairs is very important to the Survivalist.
Once, while in training, and using a LBV-88 vest, I had the left rear adjustment buckle’s suspension webbing come completely apart (bar tack thread came apart on the upper/outer side) which caused the gear suspended from the left rear of the vest to hang at a terrible angle, and making it nearly impossible to move quietly.
My improvised field repair consisted of using the awl on my German army pocket knife (didn’t buy a multi tool till about ’92) to put a hole through both sides of the strap which was threaded back through the adjustment/slider buckle, and then thread 550 cord through the webbing. Looping the cord around to the left, then back through again, looping it the opposite way, and tying it off with a square knot.
Finally I burned/melted the knot fast to keep it from loosening (this took about 10 minutes). Usually if load bearing gear needs repaired immediately, it’s the webbing straps which comprise most of the weight bearing material in an LBE or LBV.


550 cord saved the day, and is one of the best things you can carry in your gear for field repairs, shelter building, trap construction, and any other use that might come to mind. Besides the cord being used whole for different projects, it can also be taken apart and used in other ways.
If you have something that needs threaded, and the cord is too thick (such as the small pommel holes on some knives), you can remove the cords guts (seven strands of thinner thread), and it should go through the smaller hole diameter. Speaking of the inner strands of 550 cord. These threads make very good sewing thread if you have a larger needle with a big eye.


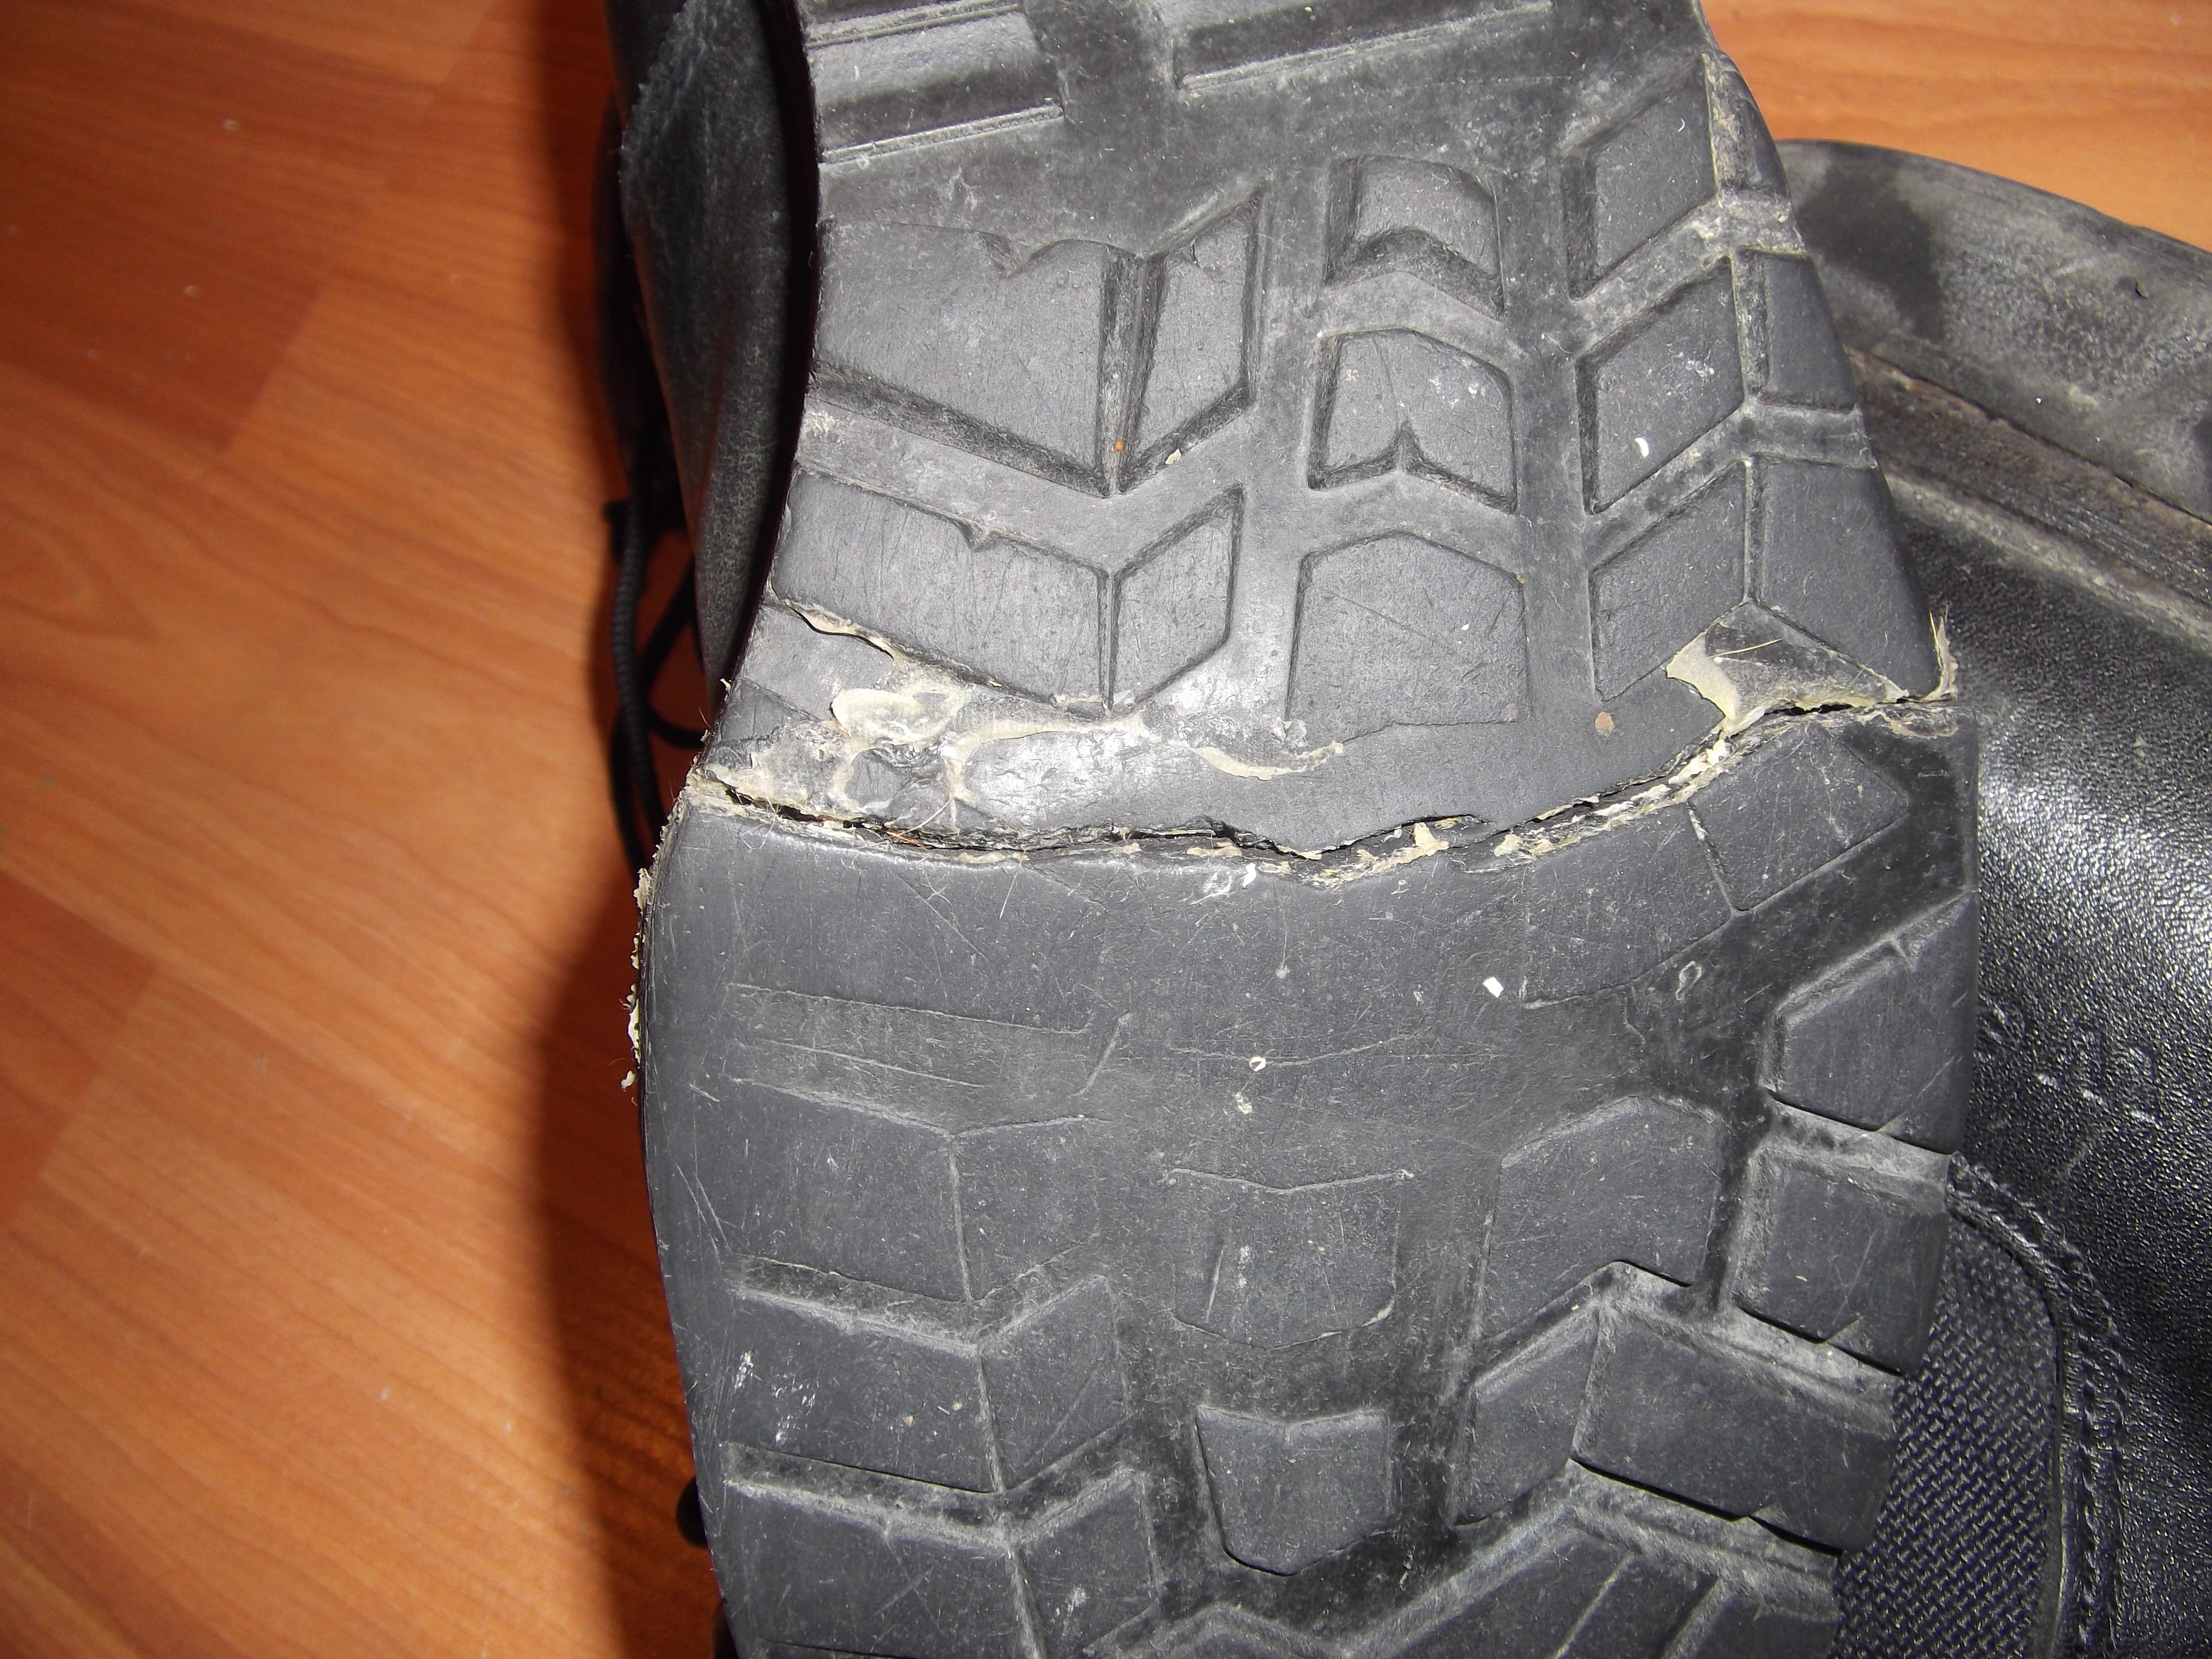
Usually, 550 cord will work to repair most field load bearing gear, but what about boots? I have had boots split the sole across the ball of my foot (especially in extreme cold weather), and I have had heels start to separate from the boot. Although 100 mph tape will suffice for finishing a short term task, the Survivalist might need more of an extension in the “short term repairs” department. I have used a few different types of materials for repairs, and this is what I’ve found that works.

For more specific repairs that involve the seam of your equipment or more than just temporary boot repair, nothing has worked better for me than “bank line” or some type of fishing line and a “Speedy Stitcher”. I have use them to repair nylon and canvas load bearing gear and boot seams (mostly the top of the heel cap behind you Achilles heel), and it will hold for some time before needing redone.

Another product I’ve used is “Shoe Goo” for sole reconstruction. The boot pictured that had partial heel separation is still going strong after the repair, and that was a year and a half ago. What I have done when I have to use “Shoe Goo” on the shoe’s sole, is apply the “Shoe Goo” to the damaged area, using something like a Popsicle stick or ink pen shaft to get it in as much of the area as possible.
I then seal up the area with duct tape (preferably “Gorilla Tape” for it’s holding ability), and place a weight on the shoe till the “Shoe Goo” sets up. Is this an instant fix? No. If you need instantaneous repair for use, the only options you have are to get another pair of boots, or wrap the Hell out of it with “100 MPH” or “Gorilla Tape” (it does work BTW).
If you have another pair of boots to use, go ahead and repair the boots as shown, since you don’t know when they might be needed, and procrastination on repairs like that will eventually bite you in the ass.


I know this isn’t the “Sexy Tacticool” side of Survivalism, but it is just as important (if not more so) as the “run and gun” side of preparedness. Being able to keep your equipment in good repair is something that can not be over stressed. Gear should be gone over after use, repaired if necessary, and prepared for it’s next use (blades sharpened, weapons and gear cleaned, etc). Preventative maintenance is far better than loss of a piece of equipment due to procrastination.
As a Survivalist, our preps are for the long haul, and who knows, something as simple as boot repair could mean the difference between getting out of harms way quickly, or being stuck there and taking the brunt of a bad situation head on. For want of a nail, the kingdom was lost, right?
JCD
The Bushbastard

Good info especially for the support group like a bunch of old ladies with sharp needles lol. Nylon thread is excellent and dental floss works in a pinch. I started darning socks a few years ago…even cheap cotton ones for practice before moving on to the coveted wool socks.
LikeLike
Reminds my of the ol’ farmers saw, “Use it up, wear ot out, make it do or go without”. Sometimes folks need a reminder that worn doesn’t necessarily mean worn out.
LikeLike
Just like cowboys in the Old West, the first thing that needs to be attended to is your horse. Now, whether that is your vehicle or shank’s mare, the same concept applies. In the field, this means looking after your feet and shoes at your stop. One at a time, check each foot and boot. NEVER remove both boots at the same time. Check for hot spots and take care of them ASAP. Clean dry socks and foot powder not only make sense, but will boost morale. Wool socks don’t harbor bacteria which reduces stink. They will repel moisture, including sweat. Tuck the previous day’s socks in your armpits between your shirt and jacket to dry, and put them back in rotation.
LikeLike
Great ideas!!! Thanks for sharing. Looking for small tubes of Shoe Goo now!
LikeLike
Great article. Only thing I can add is after 25 years in the construction industry the best tape hands down is zip flashing tape, it’s expensive but is miles above any duct, gorilla, 100mph or other tapes. Shoo goo is a miracle worker on all types of equipment. Thanks for the article.
For want of a nail indeed
LikeLike
A piece of glue stick and a dozen of varying size zip ties would also be worth the extra space too.
LikeLike
Agreed, but the wire and Shoe Goo will serve the same purpose.
LikeLike
Another side topic – darning holes in socks. Having some sewing background skills fixing them is well worth learning and can be practiced now.
If a small hole in sock is found (happens a lot at the heel), one procedure is sewing two rings of thread around the perimeter of the hole, then criscrossing the hole several times past this perimeters, weaving the thread in between the strands of thread across the hole. DO NOT PULL THE HOLE CLOSED – this will only form a ball in sock which will become a blister cause later on.
LikeLike